Using Microsoft Teams as a student
When studying with your fellow students, you want to be able to work together in a document, share your screen and make video calls. Microsoft Teams allows you to do all that. Every AUAS student has free access to Microsoft Teams. On this page we explain in four parts how to install MS Teams and how to get the most out of it.
On this page:
- Part 1: Installing Microsoft Office and Teams
- Part 2: Join or create a Team
- Teams start screen
- Create a new Team
- Part 3: Using the chat feature for your projects
- Creating a new chat
- Options for communicating via the chat
- Chat
- Videocalling
- Calling
- Screen sharing
- Adding people to the chat
- Uploading, viewing and editing files
- Working together in files and creating shortcuts to programs
- Scheduling a meeting with members of the chat group
- Part 4: the calendar
- Scheduling a new meeting
- Taking part in a meeting
- Taking minutes during a meeting
Part 1: Installing Microsoft Office and Teams
Installing Microsoft Office
To be able to use Microsoft Teams it is important to download Office 365 ProPlus first. The university is offering this service for free. Office 365 contains different kind of software for you to use for your school assignments, like Word, Excel en and PowerPoint. [instructions on how to install Microsoft Office 365 will be published shortly]
Installing Microsoft Teams
When you’re done with installing Office 365, you can get on with installing Microsoft Teams. [instructions will be published shortly]
Part 2: Join or create a Team
Now that you’ve installed teams, you’ll be able to use it to work on your (collaborative) assignments, presentations and group projects. Teams has several tools for you to use.
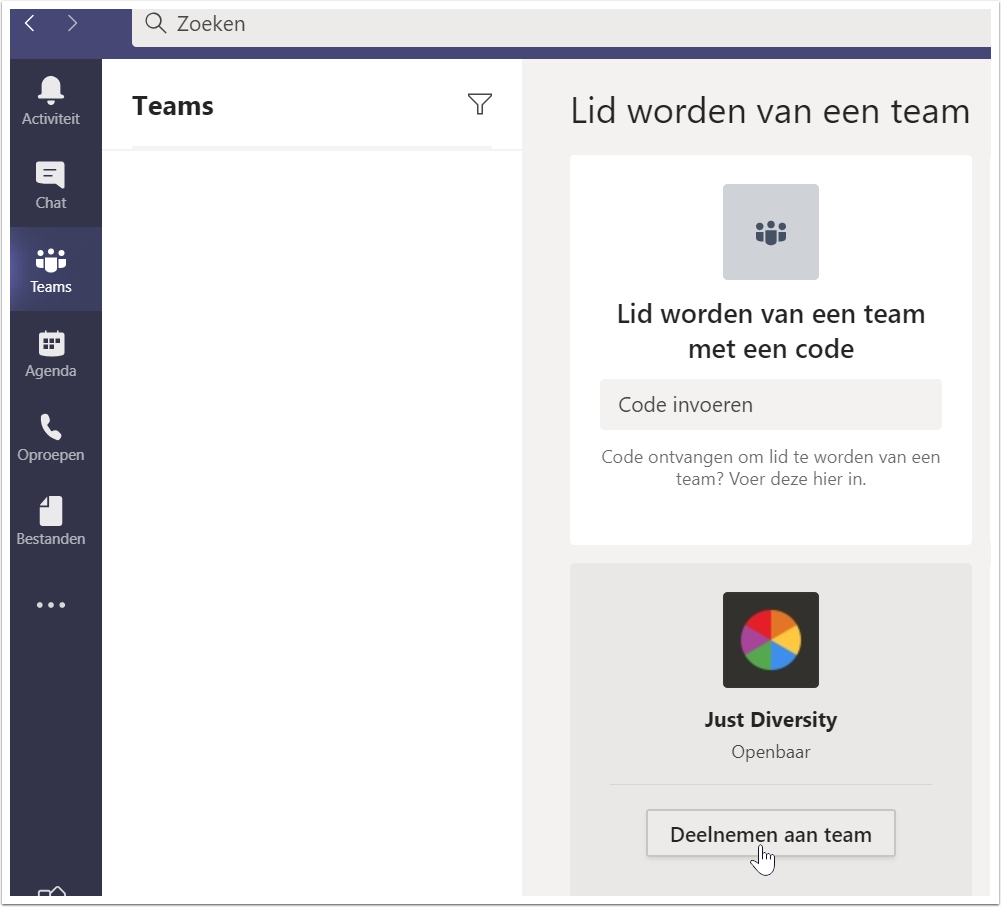
Teams start screen
The “Teams” icon on the left side of the screen shows you the possibilities of joining a existing team. If submitting a code is mandatory, the team in question is private. Teams that are accessible without a code, such as the “Just Diversity” teams shown in the above picture, can simply be joined by clicking on “Join Team”.
Create a new Team
When you open Microsoft Teams, you will see a Teams icon with the name 'Team request app ' in the navigation column on the left. By clicking on this, you can request a Team that you can then arrange as you wish. That way, you can easily request a collaborative environment that is only accessible to students you want to work with.
Part 3: Using the chat feature for your projects
In Microsoft Teams you can create chats and add different members to it. For example, you can create a chat with your project team, your classmates or individual fellow students.
The chat feature in Teams has more options than a group call in WhatsApp, for example, and has been optimised to collaborate with fellow students and exchange work between you. It keeps all your work well organised, and eliminates the need to use external communication apps or project management apps. Your work is stored in the cloud and will therefore have automatic backups.
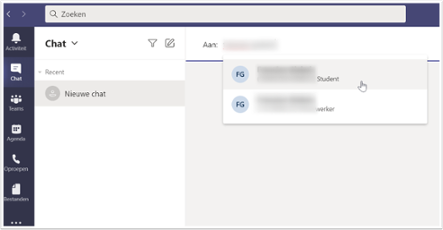
Creating a new chat
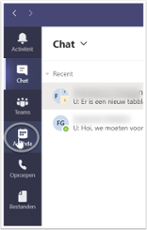
To create a new chat, go to “Chat” on the left side of the screen. Next, click on new chat. You’ll get the option to search for people to add to the chat. You can find people by searching on their name or e-mail address. When you’ve found the correct person, you can click on their name to add them to the chat. Do this until you’ve found every person you want to add . Your chatroom will automatically be added to the chat overview on the left side of the screen.
When you want to add another chatroom, you can do that by clicking on the “edit” icon, on the top right side of the chat overview.
You can change the group name of a chat at any time, for example to the name of your project or class, by clicking on the pencil icon next to the names of the people in the group chat. This makes it clear at a glance what this chat is for.
Options for communicating via the chat
The chat feature gives you various different options for communicating with your groupmates.
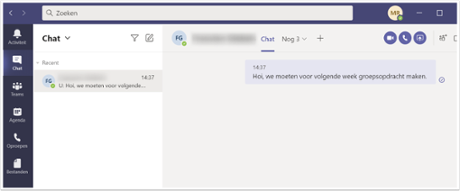
Chat
The most common option is the chat, with which you can talk to your group members by means of text messages. This is done by typing a message in the type field at the bottom of the screen. You can format the text and add emojis, gifs, stickers and even streams. The messages are saved, making it easy for your project group to read them back.
Videocalling
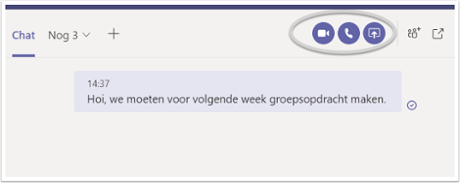
At the top of the chat screen, you’ll see different options for communicating. By pressing the video camera, you can videocall any member of the chatroom. Look at their names to find out if they’re online: a green dot indicates they’re online and available to answer the call.
Calling
You can call the members of the chatroom by pressing the telephone icon. Calling is audio only,
Screen sharing
If you share your screen with everyone in the chat, your fellow students can, for example, watch live while you are editing a presentation or report.
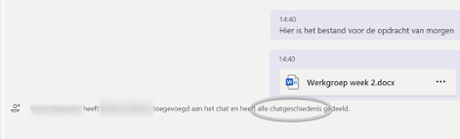
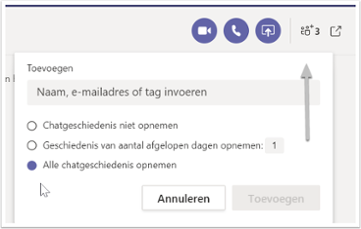
Adding people to the chat
It is possible to add people after the chat has been created. Click on the icon with two people and a '+' sign next to it to do this. You can decide whether this person is allowed to view the chat history, until how long ago, or whether they are not allowed to see the chat history at all. A notice will appear stating whether or not the newly added person can see the chat history.
Finding new members works the same way as with creating the chat. You can find them by typing their e-mail dress or name.
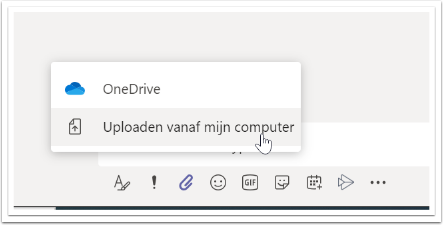
Uploading, viewing and editing files
At the bottom of the screen there is an option to upload files to the chat. You can select files from OneDrive or upload them from your computer.
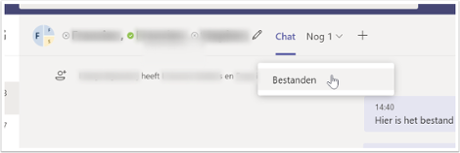
An overview of your files can be found at the top of the screen, next to Chat. You can select files from here.
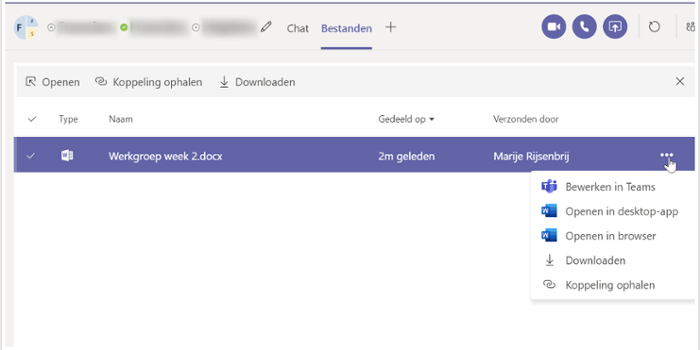
You can download or edit the files here. Depending on what file type it is and what office apps you have installed you can edit them directly from within Teams or open the app for this purpose.
Working together in files and creating shortcuts to programs
During projects you sometimes have to work together in one main file or use a certain programme often. You can create a tab so that you can find them quickly.
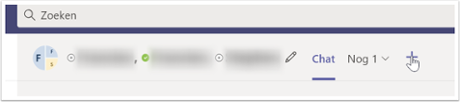
Click on the "+" at the top of the chat to add tabs such as programs and files.

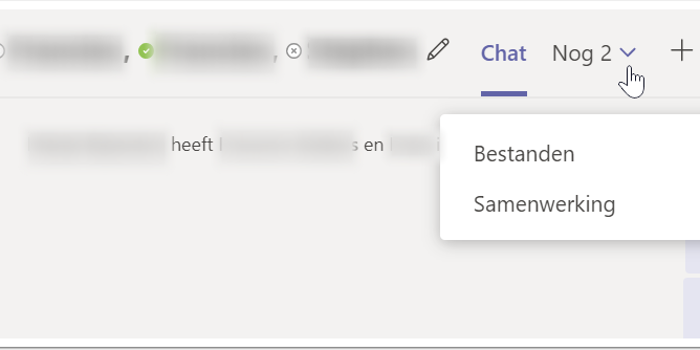
To access them after they've been added, click on 'Samenwerking', which is now under the Files tab.
Scheduling a meeting with members of the chat group
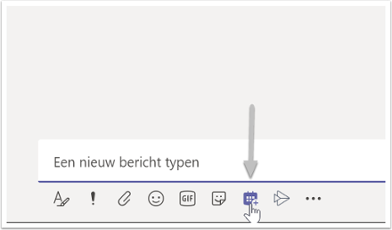
You can schedule a meeting with your chat group in Teams. By doing so, each member of the chat room will receive an invitation in their digital calendar as well as a reminder as soon as the meeting starts. This ensures that all members of the project team know when the meeting is about to start. To plan a meeting, click on the Calendar icon at the bottom of the chat.
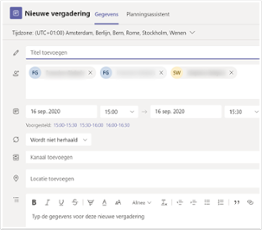
Then you can fill in the details of the meeting. For instance set a title, which members of the group discussion should be invited, the date and time and whether it is a recurring meeting. Channels allow you to invite a specific group within a team to the meeting. You can also add a location for the meeting.
In the description you can specify what the meeting will be about. You can, for example, list agenda items.
Once the meeting has been scheduled it will be listed in the agenda.
Part 4: the calendar
In the calendar you can view all the appointments you have made with Microsoft Teams, and schedule new meetings. You can also find the meetings planned from the chat function here.
Scheduling a new meeting
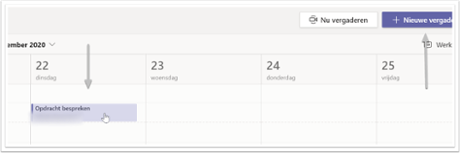
To schedule a new meeting, click on the "Nieuwe vergadering" button. Creating a new meeting is done in the same way as you would from the chat function.
Taking part in a meeting
Clicking on the meeting in the agenda will show you more details about the meeting. From here you can join the meeting by clicking on the "join" button.
You can also join the meeting by clicking on the link at the bottom of the page. This link was also sent to you as a confirmation in your e-mail when you were invited to this meeting.
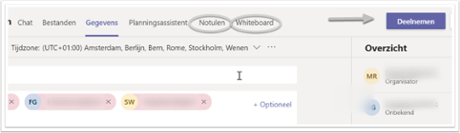
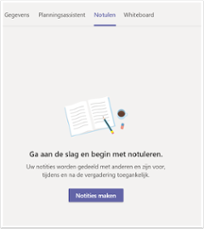
Taking minutes during a meeting
You can take minutes during the meeting by clicking on Notulen or Whiteboard. The other participants of the meeting can also read these back.